Sketch was on our radar for about a year and a half before we finally decided to hunker down and make the time investment to learn a new tool. We read a lot of reviews around the time we first discovered Sketch that led us to believe that, while its offerings were promising, its current state was still too buggy for us to make the switch. We periodically checked in to revisit the app, but it wasn’t until recently that we made the plunge, bought a few licenses, passed them around to our designers and developers, and started getting our hands dirty.
After a month or so of Sketch use under our belts, we feel like we’re at a good place to evaluate our experience, and pass off some of our discoveries and best practices.
Tip 1: Learn the Application First, Duh
Just like Photoshop, there are plenty of extensions that can be added on to Sketch to improve its function; in Sketch, they’re called plugins. One “rule” we set in place when we first started using the application was to actually learn it. It didn’t make sense for us to migrate to this lightweight, streamlined application, then bloat it up with features we thought might be missing. We decided to make it a point to learn the native tool first — the right ways and the wrong ways to perform tasks — and only then search for plugins to help us fill any voids we found. What we discovered was that Sketch performs really, really well out of the box, and any shortcomings that were discovered, were easily remedied by an upgrade straight from Sketch themselves, or through a free plugin developed by a Sketch community member.
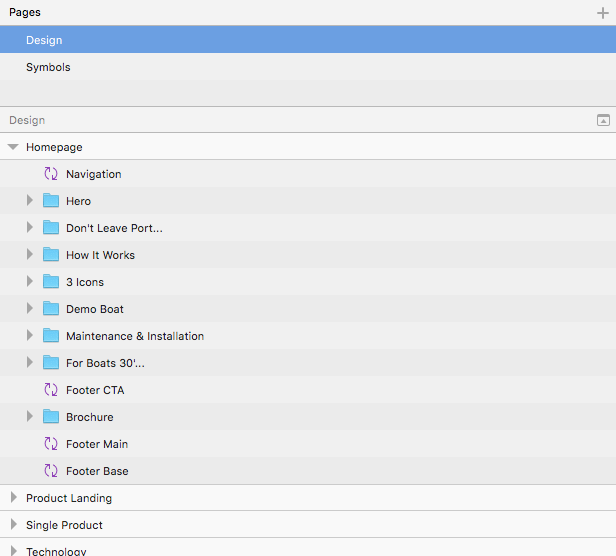
Tip 2: Stay Organized
The layers panel in Sketch is something to stay conscious of, and yet it’s something fairly easy to ignore when working in the application. Staying organized with your layers is important in Sketch, especially if you plan to hand off the file to a developer or designer. We’ve found it easiest to group any module elements together, and organize layers into folders as they’re presented in the design, top to bottom throughout the layers panel. This was a best practice of ours in Photoshop as well, but for whatever reason takes a little bit of extra effort in Sketch.
An organized layers panel not only helps when dissecting someone else’s work, but also when aligning layers, using keyboard shortcuts to jump between layers, or when measuring the distance between multiple layers — some of the many great features we’ve grown to love as we’ve used Sketch!
Tip 3: Take The Time to “Set Up” Your Document
Sketch is a powerful application and allows for a lot of interconnectedness within a file. Elements can be cross-referenced with a “set it and forget it” mentality between pages and artboards. It’s pretty amazing and incredibly useful. A great way to really set yourself up for success right from the get-go is to recreate any current brand styles you might already have for the project — I’m talking colors, fonts, logos, etc. — all within their own page in Sketch. Formatting these styles into a style guide makes it very easy to reference them as you set up Symbols and Shared Styles (more on those below).

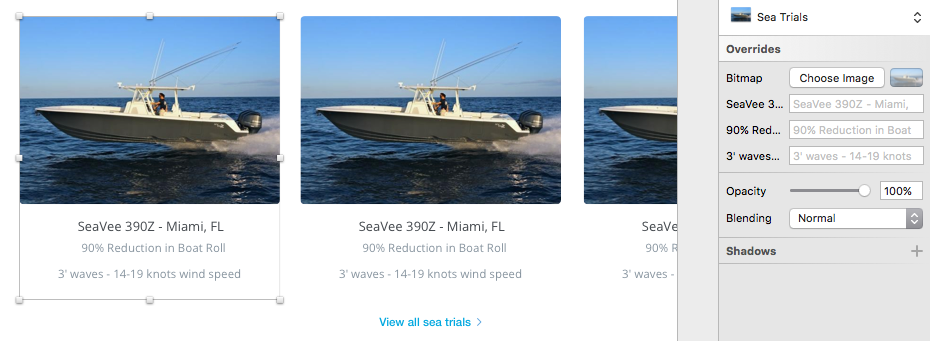
Tip 4: Create Symbols. Love Symbols.
Symbols group and save layers in a way that creates reusable, updatable modules. This idea is very much like creating a linked smart object in Photoshop, but better! Let me explain. Say I’m designing a resource library and need to repeat across a grid a video card, consisting of a video thumbnail, video title, category, and short description. Sketch will allow me to save the group of layers that make up my card as a symbol, place an instance of that symbol in my design, then repeat it across an automated (automated!) grid. Each instance of the symbol refers back to the stylistic properties of the original symbol, so everything is always in sync. But here’s the kicker…symbols also have a set of “overrides,” allowing me to alter specific fields that make up the symbol, like the thumbnail, title, category, and description of my video card. Overrides make creating a unique design incredibly easy and, of course, does so while maintaining all the styles of the original symbol. It’s ridiculously handy and has sped up our workflow quite a bit!
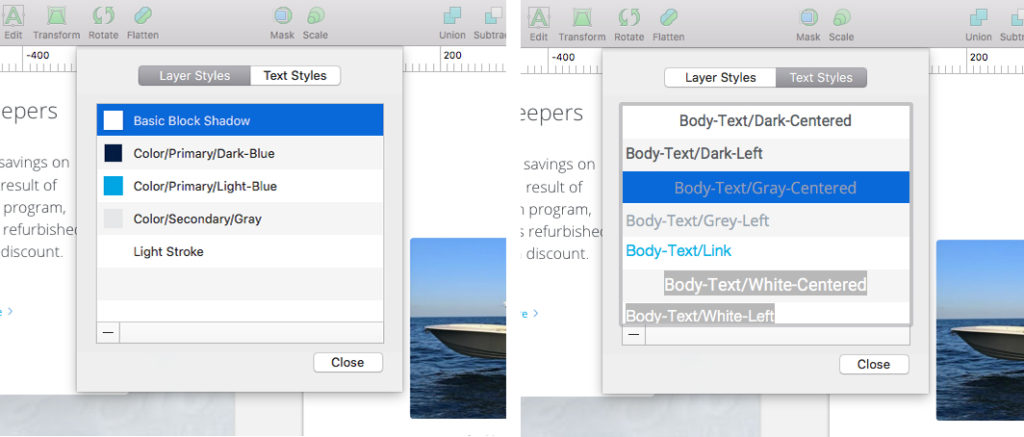
Tip 5: Share Your Styles!
Shared Styles comes in two flavors: Layer Styles and Text Styles. Overall, Shared Styles are similar to Symbols in that their core function is to unify elements throughout a design, while also making any necessary updates to designs very manageable.
Layer Styles focus on layers and objects and provide the ability to save “presets” of fill/color, borders, shadows, inner shadows, and blur. An example of using a Shared Layer Style would be for button fills. If my primary call to action color was set early on in my design, and I’ve later decided I need to increase the saturation of my CTAs, you know, to create more pop, a shared style would allow me to do this very quickly by updating my shared fill layer style to something more vivid. After that was done, all layers referencing my shared fill layer style would automatically (automatically!) update and reference the new color accordingly. If I had set my button colors individually, like Photoshop requires, I would need to revisit each and every layer where the former CTA color was used throughout the entire design and update it manually. Some of you readers might actually be taking a break from doing that right now…
Shared Text Styles allow for the grouping of text characteristics, such as font face, weight, size, color, alignment, and character, line, and paragraph spacing, into a single, named style. Similar to Layer Styles, Text Styles enable me to apply a text style to any text field in my design, keeping all headers, body copy, descriptions, etc, in sync and on-brand throughout my design.
Overview
All-in-all, we really couldn’t be happier to have made the time investment to learn Sketch. It’s evident the Bohemian Coding development team, the folks behind Sketch, have put forth a ton of effort to make the PS to Sketch transition as easy as could be. In the short time we’ve been using the app, we’ve communicated with them about features, and really appreciate the attention they’re giving to user feedback and to building out and pushing updates regularly. As a design and development shop ourselves, we felt that couldn’t go unnoticed in our write-up!
Bottom line: would we do it again, and take the time to integrate Sketch into our workflow at King Design? Yep, without question. There’s still a need for Photoshop in our everyday lives, which we can get into in another post, but Sketch as a stand-alone application has already proven to be a fantastic resource for our team.
